Deploy interLink virtual nodes
Learn how to deploy interLink virtual nodes on your cluster. In this tutorial you are going to setup all the needed components to be able to either develop or deploy the sidecar for container management on a remote host via a local kubernetes cluster.
The installation script that we are going to configure will take care of providing you with a complete Kubernetes manifest to instatiate the virtual node interface. Also you will get an installation bash script to be executed on the remote host where you want to delegate your container execution. That script is already configured to automatically authenticate the incoming request from the virtual node component, and forward the correct instructions to the openAPI interface of the interLink plugin (a.k.a. sidecar) of your choice. Thus you can use this setup also for directly developing a sidecar, without caring for anything else.
Requirements
- MiniKube
- A GitHub account
- A "remote" machine with a port that is reachable by the MiniKube host
- for instance with
Create an OAuth GitHub app
In this tutoria GitHub tokens are just an example of authentication mechanism, any OAuth2 compliant identity provider is supported with the very same deployment script.
As a first step, you need to create a GitHub OAuth application to allow interLink to make authentication between your Kubernetes cluster and the remote endpoint.
Head to https://github.com/settings/apps and click on New GitHub App. You should now be looking at a form like this:
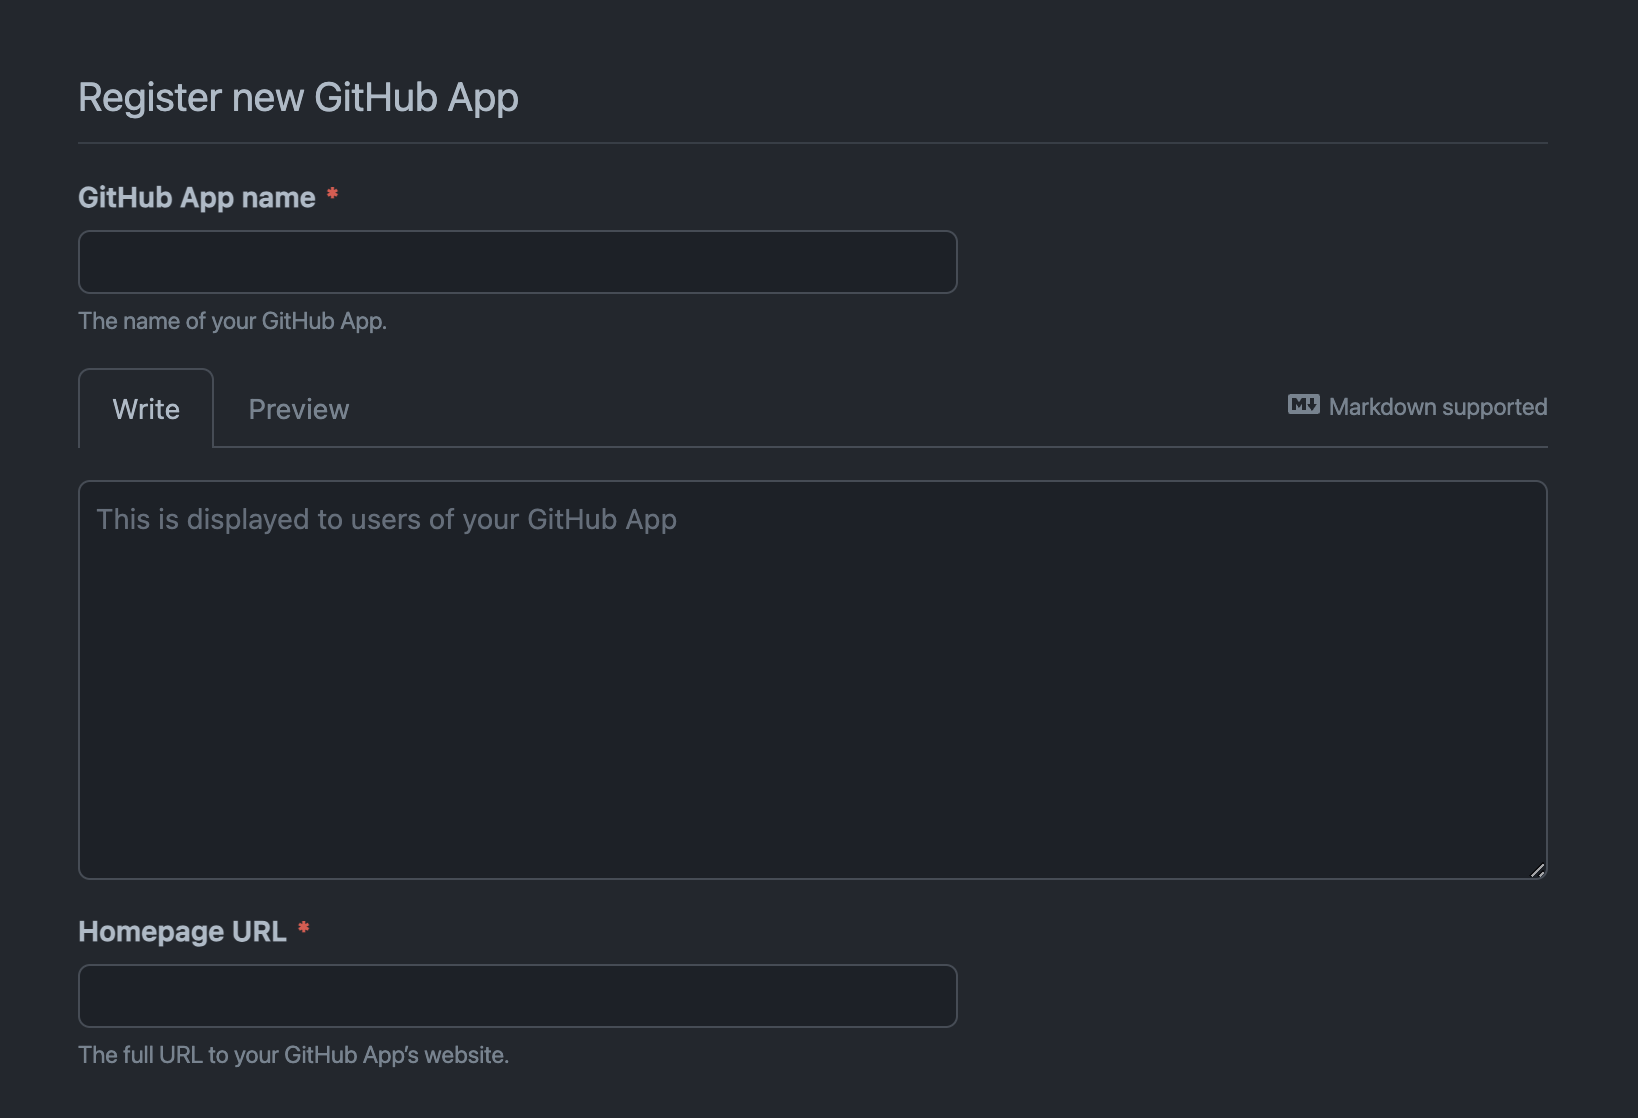
Provide a name for the OAuth2 application, e.g. interlink-demo-test, and you can skip the description, unless you want to provide one for future reference.
For our purpose Homepage reference is also not used, so fill free to put there https://intertwin-eu.github.io/interLink/.
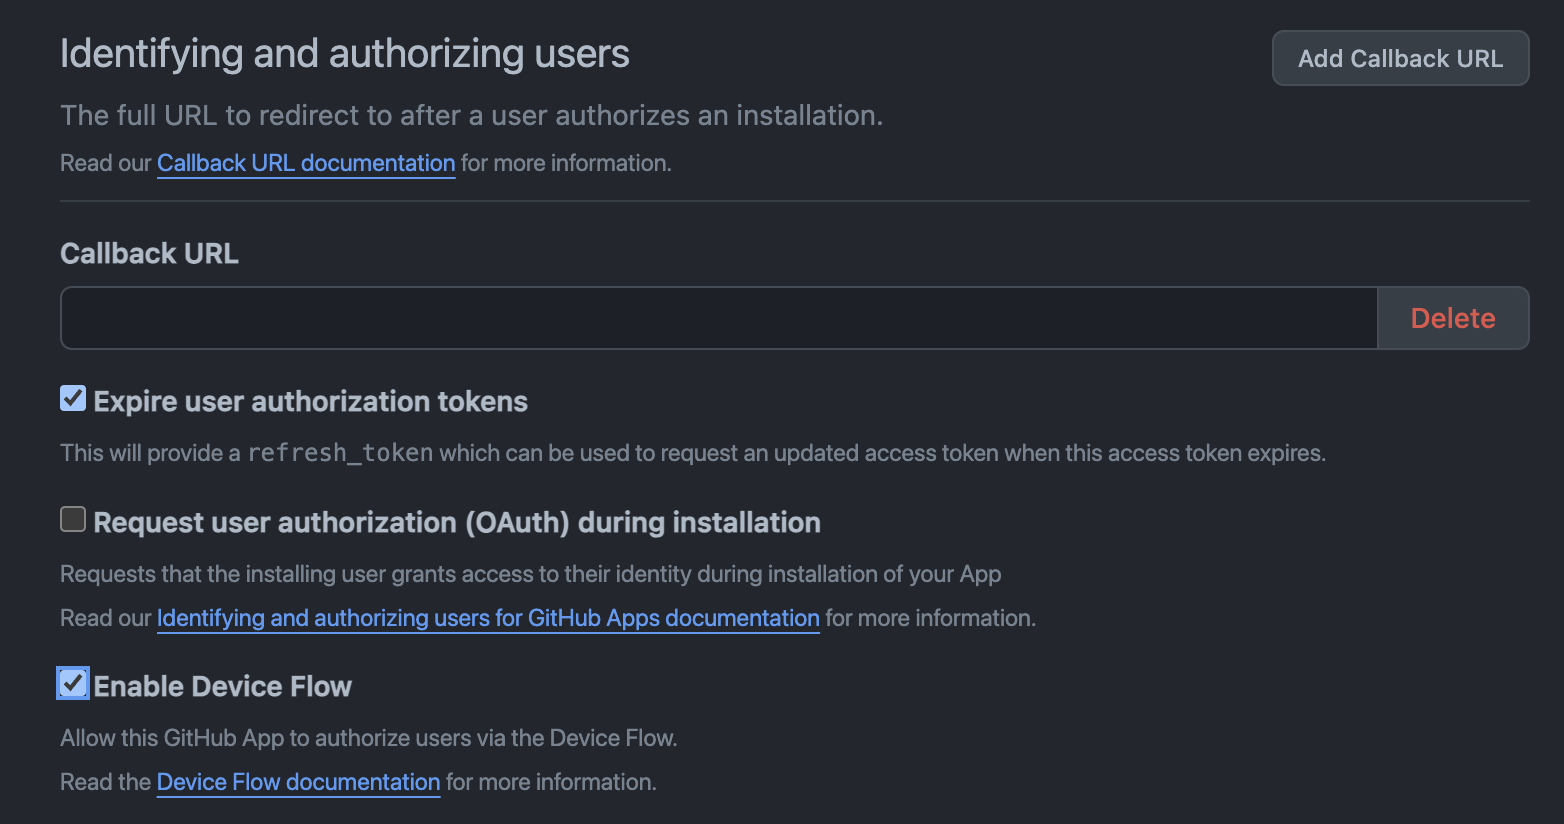
Check now that refresh token and device flow authentication:
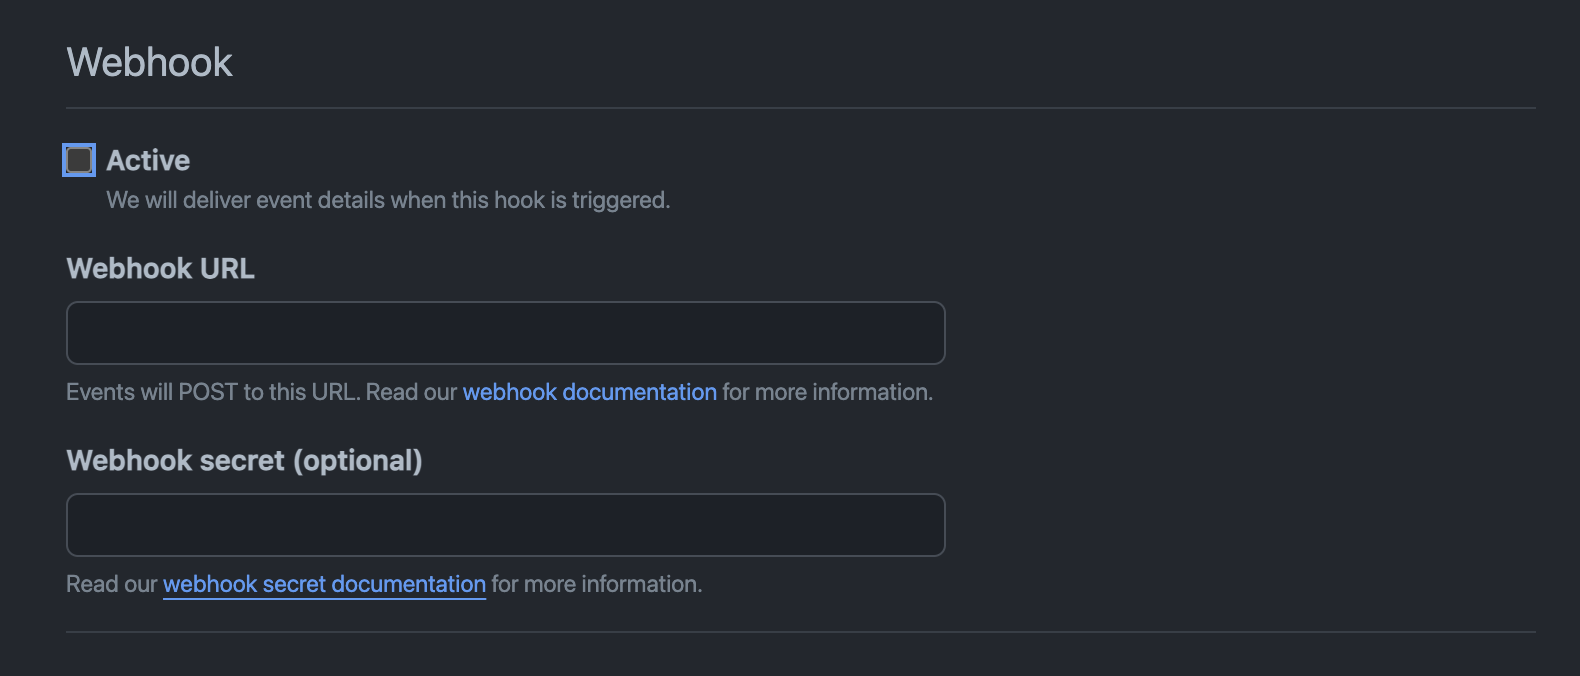
Disable webhooks and save clicking on Create GitHub App
You can click then on your application that should now appear at https://github.com/settings/apps and you need to save two strings: the Client ID and clicking on Generate a new client secret you should be able to note down the relative Client Secret.
Now it's all set for the next steps.
Configuring your virtual kubelet setup
You can download the interLink installer CLI for your OS and processor architecture from the release page, looking for the binaries starting with interlink-install. For instance, if on a Linux platform with x86_64 processor:
wget -o interlink-install https://github.com/interTwin-eu/interLink/releases/download/0.1.2/interlink-install_Linux_x86_64
chmod +x interlink-install
The CLI offers a utility option to initiate an empty config file for the installation at $HOME/.interlink.yaml:
interlink-install --init
You are now ready to go ahead and edit the produced file with all the setup information.
Let's take the following as an example of a valid configuration file:
interlink_ip: 192.168.1.127
interlink_port: 30443
interlink_version: 0.1.2
kubelet_node_name: my-civo-node
kubernetes_namespace: interlink
node_limits:
    cpu: "10"
    memory: 256Gi
    pods: "10"
oauth:
    provider: github
    issuer: https://github.com/oauth
    scopes:
      - "read:user"
    github_user: "dciangot"
    token_url: "https://github.com/login/oauth/access_token"
    device_code_url: "https://github.com/login/device/code"
    client_id: "XXXXXXX"
    client_secret: "XXXXXXXX"
This config file has the following meaning:
- the remote components (where the pods will be "offloaded") will listen on the ip address
192.168.1.127on the port30443 - deploy all the components from interlink release 0.1.2 (see release page to get the latest one)
- the virtual node will appear in the cluster under the name
my-civo-node - the in-cluster components will run under
interlinknamespace - the virtual node will show the following static resources availability:
- 10 cores
- 256GiB RAM
- a maximum of 10 pods
- the cluster-to-interlink communication will be authenticated via github provider, with a token with minimum capabilities (scope
read:useronly), and only the tokens for userdciangotwill be allowed to talk to the interlink APIs token_urlanddevice_code_urlshould be left like that if you use GitHubcliend_idandclient_secretnoted down at the beginning of the tutorial
You are ready now to go ahead generating the needed manifests and script for the deployment.
Deploy the interlink Kubernetes Agent
Generate the manifests and the automatic interlink installation script with:
interlink-install
follow the instruction to authenticate with the device code flow and, if everything went well, you should get an output like the following:
please enter code XXXX-XXXX at https://github.com/login/device


=== Deployment file written at:  /Users/dciangot/.interlink/interlink.yaml ===

 To deploy the virtual kubelet run:
    kubectl apply -f /Users/dciangot/.interlink/interlink.yaml


=== Installation script for remote interLink APIs stored at: /Users/dciangot/.interlink/interlink-remote.sh ===

  Please execute the script on the remote server: 192.168.1.127

  "./interlink-remote.sh install" followed by "interlink-remote.sh start"
We are almost there! Essentially you need to follow what suggested by the prompt.
So go ahead and apply the produced manifest to your minikube/kubernetes instance with:
kubectl apply -f $HOME/.interlink/interlink.yaml
Check that the node appears successfully after some time, or as soon as you see the pods in namespace interlink running.
You are now ready to setup the second component on the remote host.
Deploy the interLink core components
Copy the $HOME/.interlink/interlink-remote.sh file on the remote host:
scp -r $HOME/.interlink/interlink-remote.sh ubuntu@192.168.1.127:~
Then login into the machine and start installing all the needed binaries and configurations:
chmod +x ./interlink-remote.sh
./interlink-remote.sh install
By default the script will generate self-signed certificates for your ip adrress. If you want to use yours you can place them in ~/.interlink/config/tls.{crt,key}.
Now it's time to star the components (namely oauth2_proxy and interlink API server):
./interlink-remote.sh start
Check that no errors appear in the logs located in ~/.interlink/logs. You should also start seeing ping requests coming in from your kubernetes cluster.
To stop or restart the components you can use the dedicated commands:
./interlink-remote.sh stop
./interlink-remote.sh restart
Attach your favorite plugin or develop one!
Next chapter will show the basics for developing a new plugin following the interLink openAPI spec.
In alterative you can start an already supported one.